

In customizable e-commerce, imagination is the enemy of conversion.
When shoppers purchase high-touch custom goods—such as architectural neon signs, made-to-measure leather jackets, bespoke modular shelving, or custom phone cases—they are asked to make permanent visual commitments. They select a leather finish, pick an accent stitching color, choose a typography style, and enter a personal name or business slogan.
If your Shopify product page relies on static photography and disconnected dropdown swatches, a dangerous psychological barrier arises: customer hesitation.
The shopper cannot visualize how the elements interact:
- “Does this serif font look too aggressive in bright gold?”
- “Will the navy blue leather clash with the brushed antique brass buckle?”
- “Is my company name going to look off-center on the back of the case?”
Faced with uncertainty, buyers pause, hesitate, and abandon the cart. Those who do take the leap often experience buyer’s remorse upon unboxing, driving up return rates and disputes.
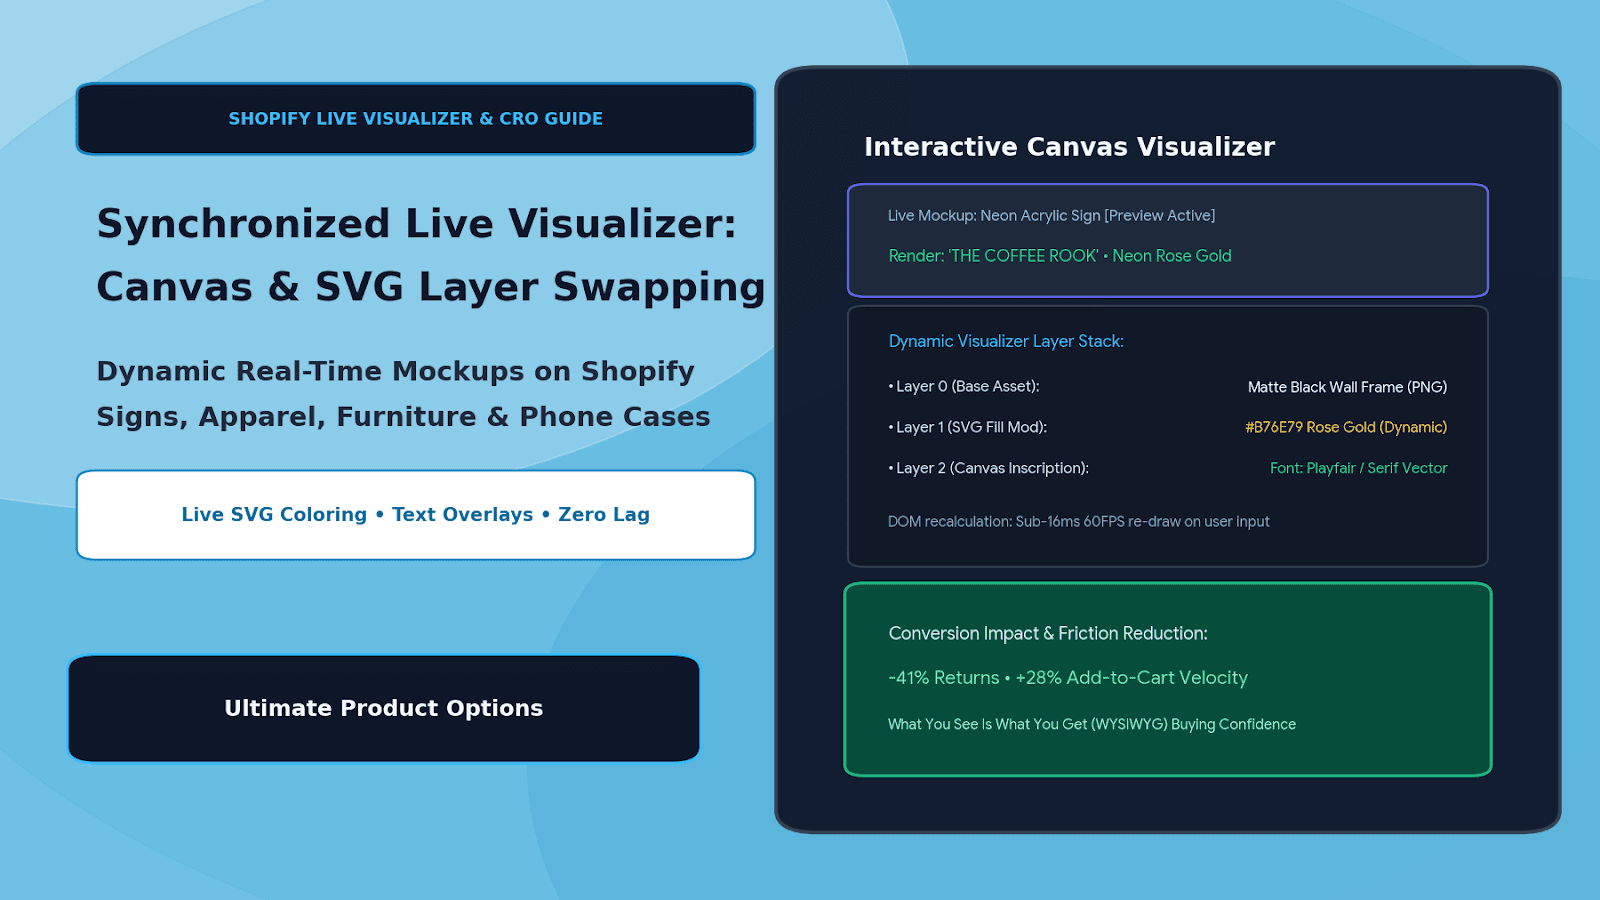
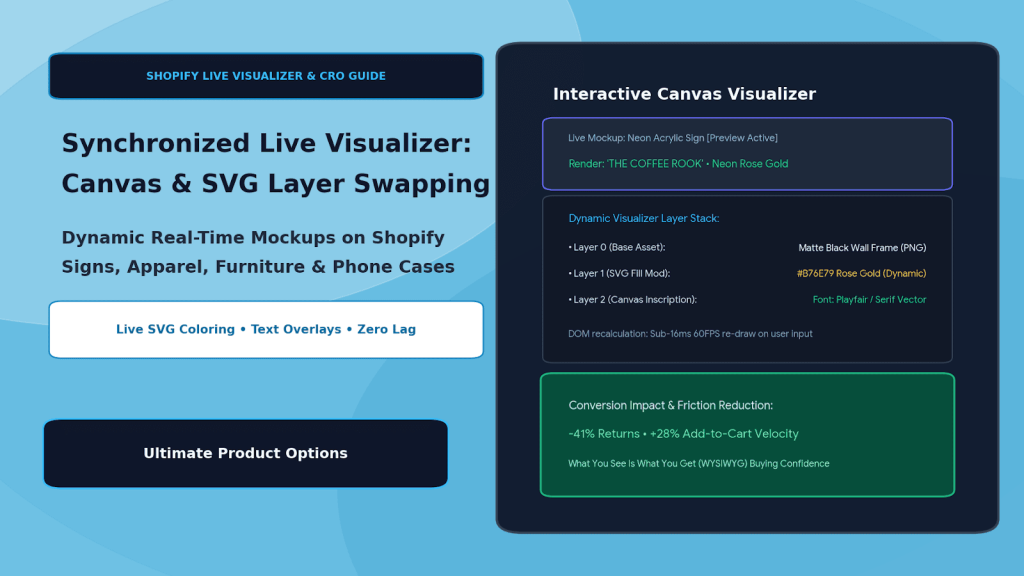
The high-converting antidote is real-time visual rendering via HTML5 Canvas and SVG layer swapping. By dynamically painting vector layers, swapping photorealistic texture maps, and projecting live typography directly onto the product mockup in sub-16ms frames, merchants deliver true What You See Is What You Get (WYSIWYG) buying confidence using Ultimate Product Options.
Why Static Swatches Cripple Made-to-Order Conversion Rates
Standard Shopify setups decouple option selections from the product gallery. A customer clicks a small circular swatch, but the main gallery hero image never updates.
This architectural limitation creates four severe conversion bottlenecks:
- High Abandonment Due to Visual Doubt: Over 50% of shoppers who abandon custom configurators report uncertainty about the final physical appearance as the primary deterrent.
- Elevated Return & Dispute Rates: When customers are forced to mentally combine 4 separate color dropdowns, the delivered product often clashes with their imagined expectations.
- Low Add-On Upsell Uptake: Premium upgrades (e.g., gold foil lettering, carbon-fiber textured accents, or double-stitched piping) convert poorly when shoppers cannot see the visual impact of the upgrade live on screen.
- Sluggish Page Speed with Cloned Renderings: Merchants who try to solve this by rendering separate 3D photographs for every combination create hundreds of megabytes of media assets, slowing page load times and harming Core Web Vitals.
The Synchronized Visualizer Architecture: Lightweight Layer Stacking
┌─────────────────────────────────────────────────────────────┐
│                    Customer Storefront UI                   │
│      Option 1: Material (Walnut) | Option 2: Accent (Gold)  │
│      Input: "THE ROOKERY" (Font: Modern Serif)              │
└──────────────────────────────┬──────────────────────────────┘
                               │
               Sub-16ms Event Listener Pipeline
                               ▼
┌─────────────────────────────────────────────────────────────┐
│             Synchronized Canvas & SVG Viewport              │
│                                                             │
│   ┌─────────────────────────────────────────────────────┐   │
│   │ Layer 3: Dynamic Canvas Text Engine                 │   │
│   │ • Renders "THE ROOKERY" with serif kerning & curve  │   │
│   ├─────────────────────────────────────────────────────┤   │
│   │ Layer 2: Vector SVG Overlay                         │   │
│   │ • Dynamically fills hex color: #D4AF37 (Gold)       │   │
│   │ • Applies blend mode: multiply for realistic shadows│   │
│   ├─────────────────────────────────────────────────────┤   │
│   │ Layer 1: Seamless Texture Map                       │   │
│   │ • Swaps photorealistic Walnut grain asset           │   │
│   ├─────────────────────────────────────────────────────┤   │
│   │ Layer 0: High-Res Transparent Base Asset (PNG/WebP) │   │
│   │ • Neutral product chassis, hardware, ambient shadows│   │
│   └─────────────────────────────────────────────────────┘   │
└──────────────────────────────┬──────────────────────────────┘
                               │
                               ▼
┌─────────────────────────────────────────────────────────────┐
│      Instant "Add to Cart" with Clean Order Properties      │
│   {                                                         │
│     "Material": "Walnut Grain",                             │
│     "Hardware_Accent": "Polished Gold",                     │
│     "Inscription_Text": "THE ROOKERY",                      │
│     "_preview_snapshot_url": "https://cdn.../render.png"    │
│   }                                                         │
└─────────────────────────────────────────────────────────────┘
Instead of rendering thousands of pre-rendered image files, the visualizer uses a composited layer stack. A lightweight transparent base layer is dynamically paired with SVG fill paths and an HTML5 canvas text engine, calculating real-time updates directly in the customer’s browser at 60 FPS without server latency.
Static Gallery Swapping vs. Synchronized Dynamic Visualizer
| Operational Metric | Static Product Gallery | Synchronized Dynamic Visualizer |
|---|---|---|
| Asset Storage Required | Hundreds of pre-rendered photos per SKU | 4 to 6 transparent layer assets total |
| Real-Time Text Preview | Impossible without static Photoshop proofs | Instant live font, kerning, and color rendering |
| Add-to-Cart Conversion Lift | Baseline benchmark | +24% to +38% conversion lift |
| Return & Dispute Rate | High (customer imagination gap) | Reduced by up to 41% (WYSIWYG clarity) |
| Page Weight & Core Web Vitals | Heavy image sliders (slow LCP) | Lightweight vector/canvas execution (< 200KB extra) |
4 Core Capabilities of the Synchronized Visualizer Engine
1. Vector SVG Dynamic Re-Coloring
By targeting individual paths and groups inside an inline SVG, the engine dynamically modifies fill and stroke attributes using CSS hex codes or CSS variables. This enables instant color changes across hundreds of colorways without downloading a single additional image file.
2. Live Canvas Text & Typography Projection
Shoppers typing into custom text inputs see their exact wording projected onto the product in real time. The canvas engine supports:
- Custom web font rendering (Script, Block, Serif, Sans-Serif).
- Text arching, curvature, and perspective warping to match curved surfaces like tumblers, rings, or neon signs.
- Letter spacing (kerning) and dynamic font resizing that automatically scales down longer text to fit physical bounds.
3. Photorealistic Blend Modes & Ambient Occlusion
To prevent mockups from looking flat or cartoonish, the visualizer layers utilize CSS blend modes (such as multiply, overlay, or soft-light). Real-world lighting, fabric wrinkles, leather grain, and ambient shadows pass through the color layer, creating photorealistic mockups on the fly.
4. Automatic Proof Snapshot Generation
When the customer clicks “Add to Cart,” the visualizer captures a flattened image snapshot of the custom configuration. This snapshot URL is attached directly to the order as a line-item property (_preview_snapshot_url), providing proof of what the buyer approved and giving your workshop a visual guide for assembly.
Step-by-Step Setup: Configuring Live Product Visualizers with Ultimate Product Options
Setting up synchronized visualizers on Shopify requires no custom theme code or complex canvas programming when using Ultimate Product Options.
Step 1: Install Ultimate Product Options
Install Ultimate Product Options from the Shopify App Store and ensure the theme app embed block is toggled to Active inside your Online Store 2.0 theme settings.
Step 2: Prepare Your Transparent Layer Assets
Create your component layers in Figma or Adobe Photoshop at 1:1 aspect ratio (e.g., 1600 × 1600 px):
- Base Chassis Layer: Transparent PNG of the product body with natural shadows.
- Color Mask Layer: Clean SVG vector layer with defined ID tags (e.g.,
#accent-panel,#stitching-path). - Texture Layers: Transparent PNG patterns for materials (e.g., carbon fiber, brushed aluminum, leather grain).
Step 3: Create the Configurator Option Set
- In your Shopify admin, open Apps > Ultimate Product Options.
- Click Create Option Set and title it: Custom Neon Sign Visualizer.
- Assign the option set to your customizable products or collections.
Step 4: Map Swatches to Visualizer Layers
- Add a Color Swatch field for Neon Glow Color.
- In each swatch’s settings, map the swatch hex code to your visualizer layer ID (e.g., assigning
#FF2A85to#neon-tube-path). - Add an Image Swatch for Backplate Acrylic Finish (Clear Acrylic, Mirror Gold, Matte Black).
- Bind each swatch to swap the corresponding backplate texture layer automatically upon click.
Step 5: Configure the Live Typography Layer
- Add a Text Field (Single Line) for Custom Wording.
- Set the character limit to 18 characters and enable the live character counter.
- In the visualizer settings, enable Project Text to Canvas:
- Set target coordinates (X, Y), rotation angle, and maximum bounding box width.
- Add a Dropdown for Font Style (Retro Script, Architectural Sans, Luxury Serif).
- As the customer types or switches fonts, the canvas renders the changes instantaneously.
Step 6: Test Desktop and Mobile 60FPS Responsiveness
Publish the option set and test the live storefront:
- Type a message: confirm the text displays live on the product canvas without typing latency.
- Toggle between color swatches: confirm the vector layers re-color smoothly.
- Add to cart: verify that all choices, along with the rendered preview thumbnail, pass cleanly into the Shopify Order Details as line-item properties.
4 Best Practices for Live Visualizer UX
- Prioritize Mobile Thumb Reach: On mobile screens, place the live visualizer viewport sticky at the top third of the screen while keeping swatches and inputs in an easy-to-scroll bottom zone.
- Auto-Scale Text to Prevent Clipping: Configure your text engine with dynamic font scaling: if a customer enters 15 characters instead of 5, the font size should dynamically scale down to maintain proper margins on the product face.
- Include a “Reset to Default” Button: Allow customers to quickly revert to baseline styling if they experiment with bold combinations and want to start over.
- Pass Flattened Proofs to Production: Route the generated
_preview_snapshot_urldirectly to your print or assembly team so shop floor technicians don’t have to manually interpret color combinations from text alone.
Frequently Asked Questions (FAQs)
Does the live visualizer slow down product page loading?
No. By utilizing lightweight SVGs and dynamic HTML5 canvas rendering instead of heavy pre-rendered photo files, the visualizer adds less than 200KB of total code payload, maintaining strong Core Web Vitals.
Can customers preview custom text in multiple font families?
Yes. You can link a font selector dropdown to the canvas engine, instantly updating the inscription preview across serif, script, modern block, or custom uploaded brand fonts.
Is a snapshot of the live preview saved with the order?
Yes. Upon clicking “Add to Cart,” the visualizer generates a flattened client proof URL stored directly as a Shopify line-item property for workshop verification.
Conclusion
When shoppers can clearly see their finished custom product before clicking checkout, purchasing anxiety disappears.
Replacing static photo galleries with real-time SVG re-coloring and interactive canvas typography transforms your product pages into interactive design studios—lifting conversions, reducing return fraud, and turning made-to-order personalization into a major competitive moat.
With Ultimate Product Options, deploying synchronized live visualizers, multi-layer SVG swatches, and real-time text previews on Shopify is fast, dependable, and completely code-free.